Mounting instruction for Gynoid clamp
Step 1
Start by unscrewing all the nuts and the U-bolt from the Gynoid bracket.

Step 2
Detach the head from the doll's body.

Step 3
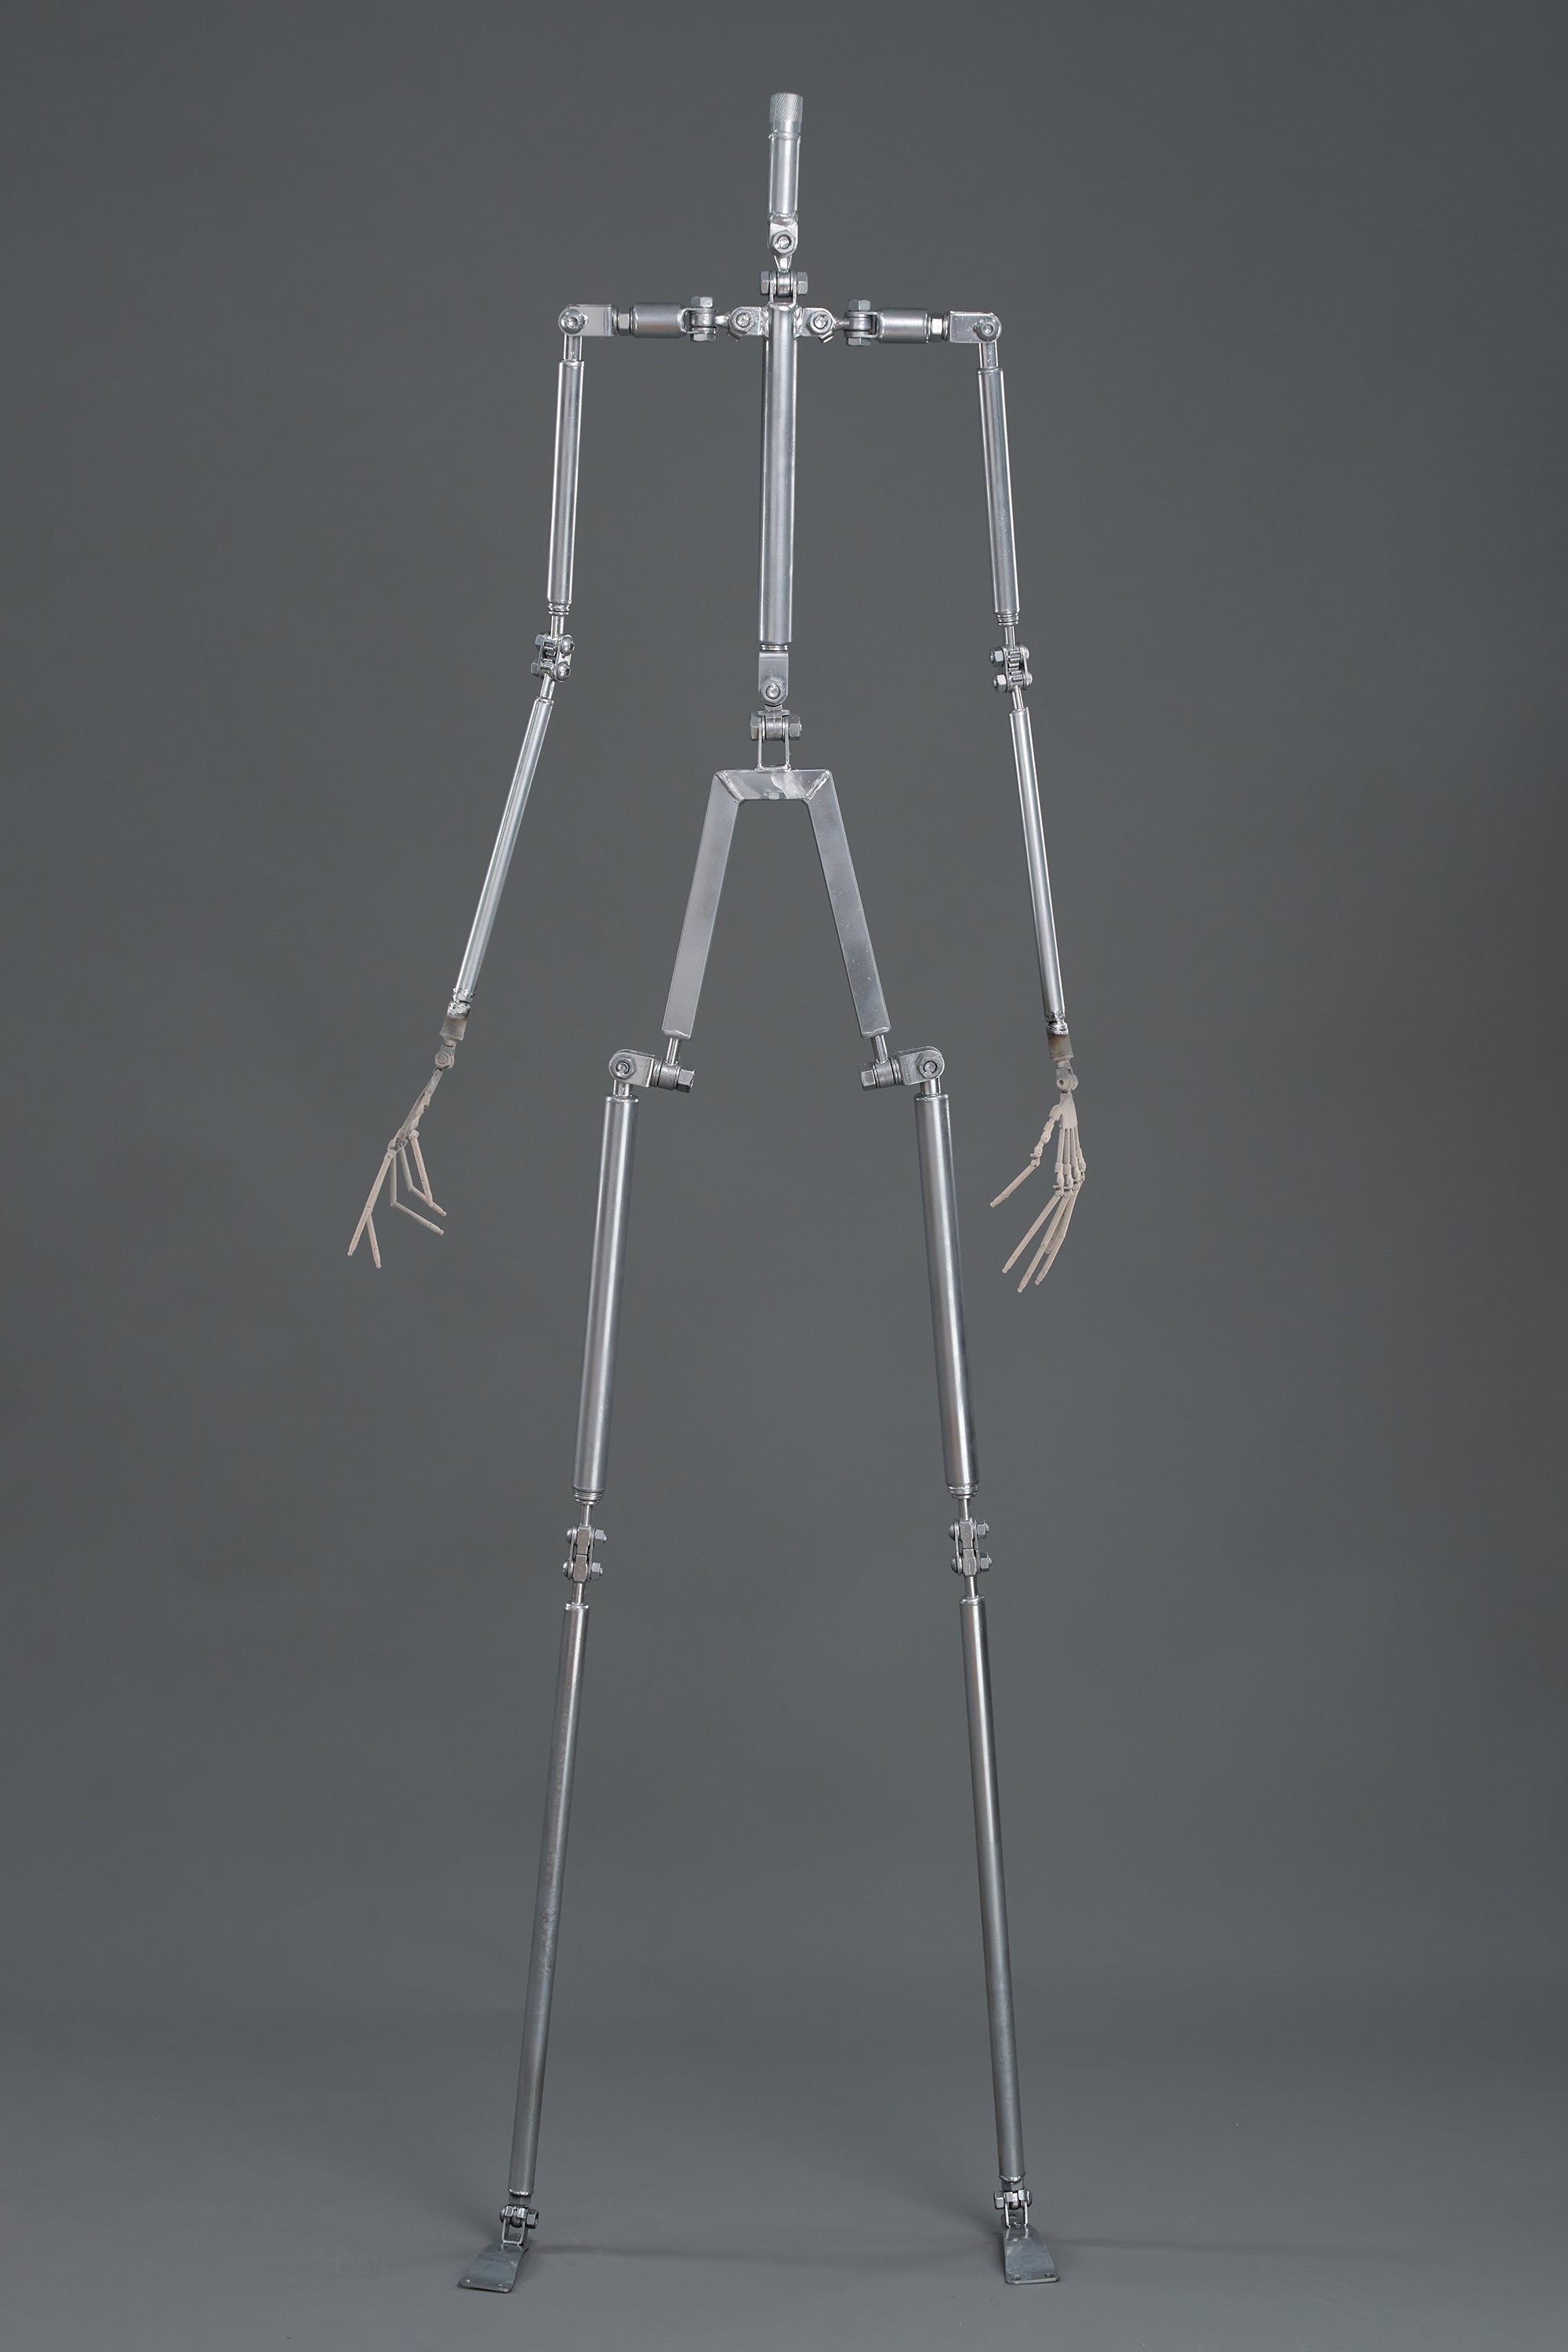
There is glued fabric around the steel neck on the doll. The glue should be quite loose. Press the silicone down with your fingers all around so you can see the metal skeleton.

Step 4
Press the silicone down around the neck to reduce the risk of marks. Then thread the U-bolt around the metal skeleton. Please be aware so no fabric gets caught in between.

Step 5
Screw on the 2 nuts about 3-4 cm deep for free spacing.

Step 6
Thread the bracket onto the U-bolt. Check that no "fabric" gets caught between the bracket and the metal skeleton.

Step 7
Now use the two remaining nuts to tighten the bracket. Important! Be very careful not to tighten it too hard. Screw a little at a time and feel that the bracket is not loose. The stability will be solved in the next step.
Tools: 17mm Block wrench

Step 8
Now, tighten the other nuts against the bracket to make it stable. Tighten with feel.

Step 9
Done!


